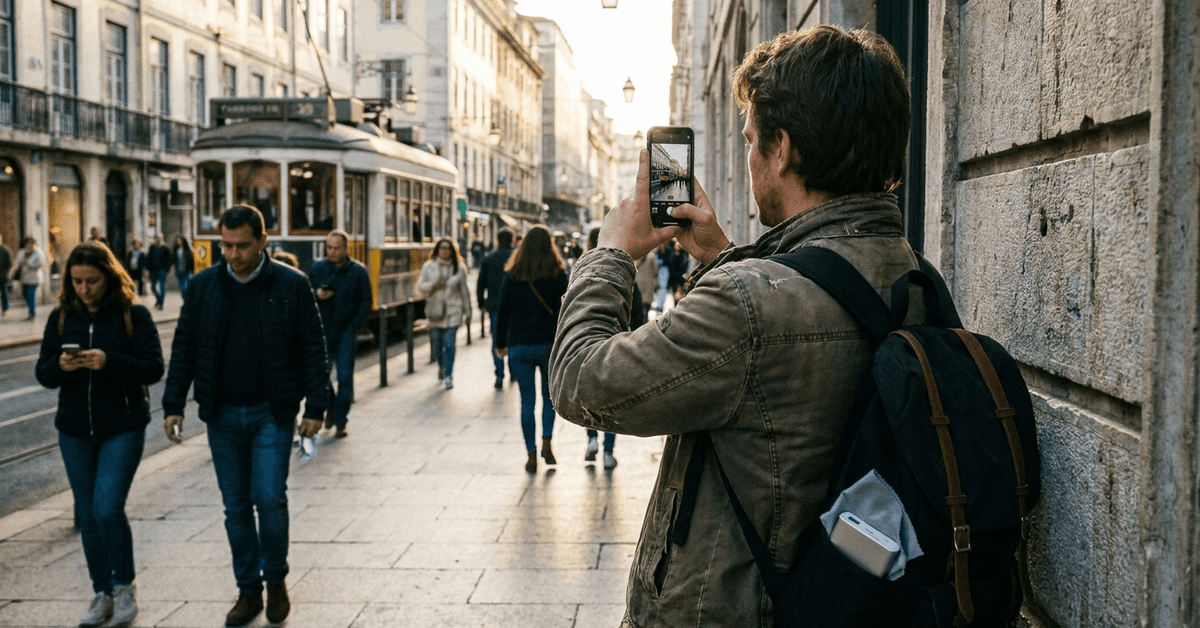
Photography can seem complicated, especially in busy cities. Expensive cameras and huge lenses are often seen as essential. Yet, most vibrant city photos are created by noticing details, using available light, and working with simple gear.
This guide explores how everyday photographers succeed without costly equipment. Learn to spot scenes, handle challenging light, and use apps that lift your photos far above the ordinary.
The Reality: Great City Photos Don’t Rely on Pricey Cameras
Most city dwellers snap photos on phones or entry-level cameras. These devices are surprisingly capable. Streets in New York, Paris, or Seoul are filled with photographers using basic gear.
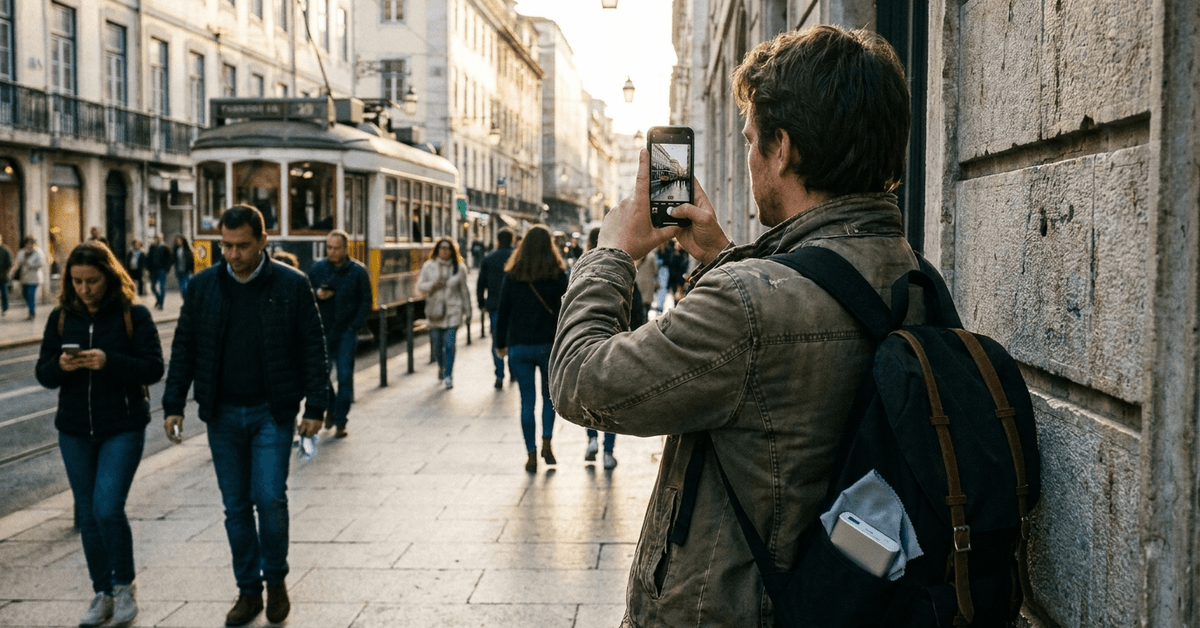
The eye for composition and the ability to read a city’s mood really count. Many iconic Instagram shots were made with older iPhones or compact point-and-shoots. Expensive setups may help, but they’re rarely the main factor.
Choosing Gear That Works in the City
Using Smartphones Effectively
The latest phones, such as the iPhone SE or Google Pixel 6a, offer sharp sensors and fast focus. What matters most is knowing the limits and strengths of a particular device.
- Google Camera app offers excellent auto modes and simple controls.
- Settings like ‘HDR’ and ‘night mode’ often improve contrast and sky detail.
Even older phones can deliver pleasing results in daylight or with steady hands at dusk.
Affordable Camera Options
Entry-level cameras, like the Canon EOS M50 or Sony a6000, are lightweight and budget-friendly. They focus quickly, work well in dim light, and offer manual controls for learning.
- Kit lenses (often 16–50mm or 18–55mm) cover varied scenes, from wide streets to people close by.
- Spare batteries and SD cards fit easily in a pocket, especially useful during long walks.
Skills Over Gadgets: The Key Strategies
Seeing Like a Photographer
Strong city photos start with observation. Notice how midday light bounces off glass buildings in London or how late afternoon glows in Lisbon.
Look for repeating shapes, reflections, or people in action. Framing a subject against a mural in Berlin adds story without needing special lenses.
Using Natural Light
Mid-morning and late afternoon provide soft, golden tones. Waiting for crowds to thin or crossing the street for side lighting can transform a plain shot into something special.
- The ‘golden hour’—just after sunrise or before sunset—is widely favored for city photos.
- Cloudy days soften harsh shadows, making colors and faces stand out more naturally.
Shooting at Night Without Extra Gear
City lights offer unique photo opportunities after dark. Holding steady against a post, wall, or even using a bag as a base helps avoid blur.
- Manual mode in apps like Open Camera grants control over shutter speed for clearer night scenes.
- Try shooting where there’s enough ambient light—like busy squares or shopfronts in Tokyo or Madrid.
Practical Techniques to Improve Your Urban Photography
Strong urban photos often come from thoughtful framing, patience, and careful positioning rather than expensive equipment. Simple techniques can make city scenes feel more balanced, lively, and visually engaging.
Use Leading Lines
Look for bridges, sidewalks, railings, tram tracks, or rows of streetlights that guide the viewer’s eye into the image. These lines can create movement and make the scene feel more organized.
Add Depth With Layers
Shoot through windows, doorways, fences, or signs to create foreground interest. Including several visual layers helps give the photograph a stronger sense of depth.
Capture City Movement
People, cyclists, buses, and pedestrians can make urban images feel more natural. Wait for a subject to enter the frame instead of forcing the shot.
Work Around Limited Zoom
Moving closer usually produces better results than using digital zoom on a phone or basic camera. Wait for trams, cyclists, or street activity to come within range.
Avoid Excessive Cropping
Heavy cropping can reduce sharpness and image quality. Frame carefully while shooting so fewer adjustments are needed later.
Free and Low-cost Apps That Make a Difference
Editing on the Go
- Snapseed allows precise edits like adjusting brightness, removing dust, or boosting color.
- VSCO offers user-friendly filters for a cohesive look. Try filters S2 or A6 for subtle contrast in city scenes.
Batches of photos can be edited all at once, which saves time and builds a consistent style.
Organizing and Sharing
- Google Photos sorts images by location, date, or subject for easy retrieval.
- For privacy-focused users, Simple Gallery is a lightweight organizer that works offline.
Sharing to platforms such as Instagram or Flickr is a good way to gather feedback, and also helps build skills over time.
Planning City Photo Walks: Where and When to Go
Researching Interesting Spots
Each city has its signature places. In Barcelona, the Gothic Quarter draws crowds, while in Singapore, Haji Lane bursts with color and murals.
- Tourist bureaus often publish DIY photo trail maps on official websites.
- Google Maps ‘street view’ is helpful for previewing alleyways or squares from home.
What to Bring on a Budget
- One small camera or phone (preferably with a lightweight protective case)
- Cleaning cloth for the lens, as city air can be dusty
- Basic phone power bank, no need for large backups—one is enough for most outings
Safety and Respect for Urban Environments
Urban photography can be exciting, but busy streets require awareness and consideration. Protecting your equipment, watching traffic, and respecting local privacy rules can help you capture meaningful images without creating risks or discomfort.
Stay Secure While Shooting
Keep your camera or phone attached with a wrist strap or neck cord whenever possible. This reduces the chance of accidental drops and may discourage opportunistic theft in crowded areas.
Avoid stopping suddenly in bike lanes, doorways, or busy intersections. Step to the side before taking a photo, and remain alert for cyclists, delivery riders, and moving vehicles.
Respect Privacy
Not everyone is comfortable being photographed. Ask permission before taking close-up images of identifiable people, especially children, street vendors, or shopkeepers.
Follow Local Photography Rules
Some cities and private spaces display signs restricting photography. Always follow these instructions, particularly near religious sites, transit areas, or private businesses.
When photography is not allowed, focus instead on public art, architecture, skylines, or wider street scenes that do not invade anyone’s privacy.
Conclusion: Mastering Urban Photography on Any Budget
Taking amazing city photos does not require top-tier gear. Observant shooting, basic tools, and free apps allow anyone to share urban stories.
Simple strategies—like using natural light, thinking about composition, and editing with care—elevate snapshots into lasting memories.
Urban photography is open to all. With an eye for light and a few practical habits, memorable city images are entirely within reach—whatever equipment is at hand.